
Last Updated on
Screenshots and taking snippets from existing works has always been a thing, even the Riddler used newspaper snippings to make his threat letter for Bruce Wayne in 1995’s ‘Batman Forever’. Ok bad example, but we’re trying to say that snipping has become an important tool in the Windows operating system arsenal. Unfortunately, people are reporting Windows 11 snipping tool broken errors worldwide.
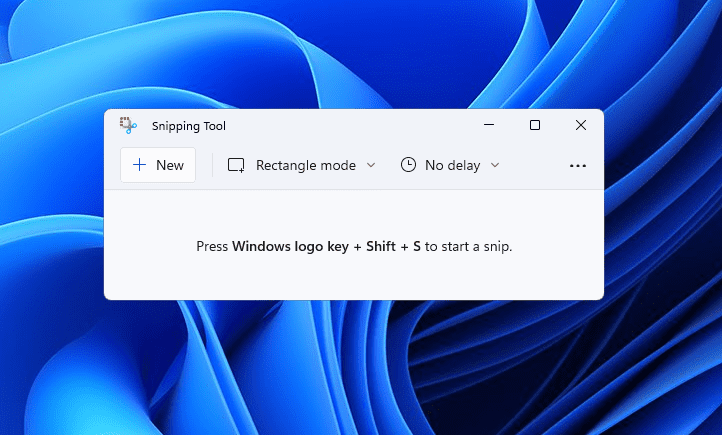
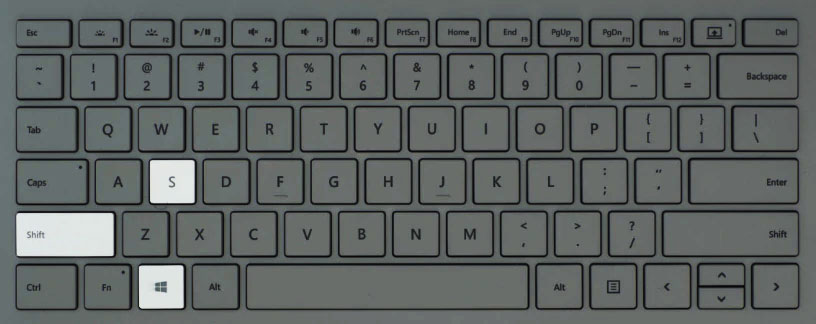
With the eccentric marketing campaign of Windows 7 to one side, the snipping tool is great for getting a screenshot of what you need instead of capturing the whole screen. Of course, you can do this and then crop down in Paint, but that’s way too many clicks. Pressing Windows + Shift + S brings up the snipping tool for some handy on-the-fly selective screenshotting. Well, it’s supposed to!
Windows 11 snipping tool broken – How to fix
For some Windows 11 users, the following message appears when trying to open the Snipping Tool: ‘This app can’t open. A problem with Windows is preventing Screen Snipping from opening. Refreshing your PC might help fix it.’
Of course, you could just use the print screen key (Prt Sc) and live out the rest of your days in MS Paint, but you deserve better. Here are three ways to fix that error and get the snipping tool back:
Use an older version
Remember seeing that Windows.old folder knocking around your hard drive? That is your old installation of Windows, most likely Windows 10 if you’re having issues. This one is a simple fix, but you’ll need to do this within the first ten days of updating to Windows 11.
Open a Windows Explorer window and go to C:/Windows.old/Windows/System32/ and use the find search field to locate ‘SnippingTool.exe’. Right-click and copy this .exe file, then navigate to C:/Windows/System32/ and paste the file into this folder. The snipping tool keyboard shortcut and program should now work properly.
Reinstall the snipping tool
The issue may be due to a corrupt install of the sniping tool, so let’s reinstall it. Click the search icon on your taskbar and search for ‘PowerShell’, then click ‘Run as Administrator’.
Copy and paste the following command onto the command line and hit enter:
get-appxpackage *Microsoft.ScreenSketch* | remove-appxpackage
The snipping tool should now be installed from Windows 11. Reboot your PC and open up PowerShell once again with admin privileges and enter the following:
Get-AppXPackage *Microsoft.ScreenSketch* -AllUsers | Foreach {Add-AppxPackage -DisableDevelopmentMode -Register “$($_.InstallLocation)AppXManifest.xml”}
This command will download and reinstall the snipping tool for you, which should also fix any issues you’ve been having with it.
Reset PC
If you can’t live life without the snipping tool and you want to follow official Microsoft guidance, you can also reset your PC. Hit Windows + i on your keyboard to bring up the system information windows. Go to Windows Update > Advanced Options > Recovery > Reset This PC > Keep My Files and follow the on-screen instructions. This is basically reinstalling Windows 11 without losing your data.
For all the latest help and news with Windows 11, make sure to bookmark and check out our Windows 11 and News hubs
